I won’t lie I’m a big fan of using Nik Software when it comes to my digital workflow. I’m pretty much using Nik Software filters on every photo I enhance. I know there are Lightroom presets or Adobe Photoshop actions that get the photo to have a certain generic look, but when it comes down to having complete control of every aspect of the photo, I don’t use actions or presets. I go straight for the jugular and edit with Nik Software.
Lately I’ve been re-editing older images with the new version of Nik Software and what I thought were good photos before are even better now. I’ve been loving the opacity option in each filter. Before it use to be either I had the effect or I didn’t. If you wanted to have the effects of the filter just slightly you would have to head over to Photoshop and use layers and lower the layer opacity etc. Sounds like a pain and it surely was. Now I just slide the opacity slider to where I want and bam, I’m done.
I wanted to share some photos that I have been working on that I took a few years back. I wanted to illustrate what I had edited in Lightroom and what the photo looked like after I used Nik Software. Some changes are subtle but some are like whoa. If you are using Nik Software, especially ColorEfex 4, may I suggest you look into the “Detail Extractor” filter and play around with it. That filter is totally bad ass. For the photos below I used photos from my trips to NYC and to the White Mountains.
And now it’s time for the show:
(Top photos are before and bottom are after. Left photos are before and right are after)
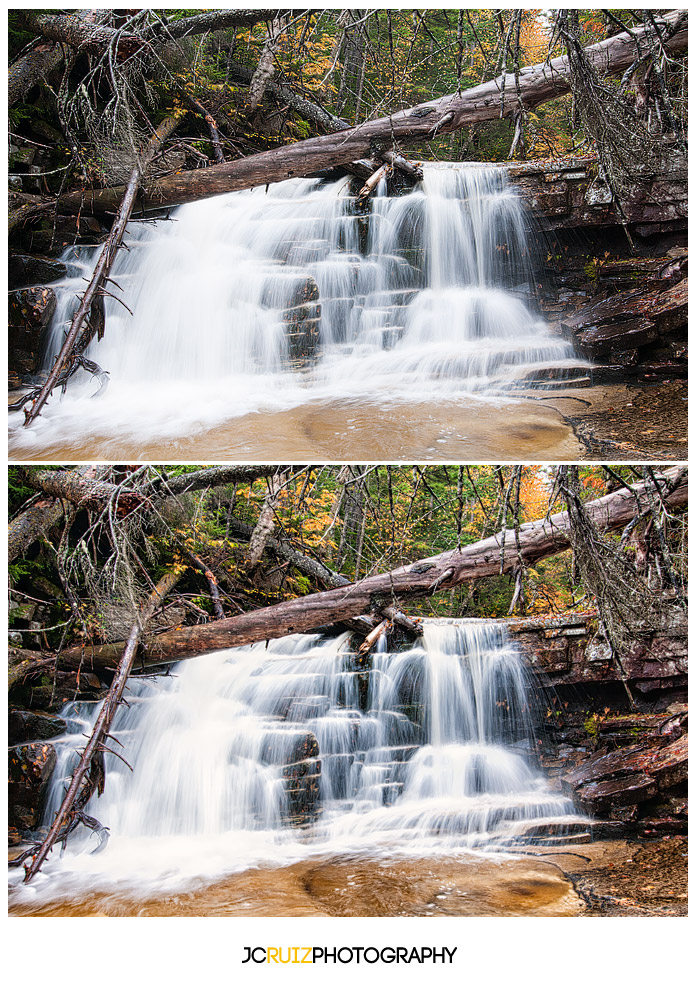
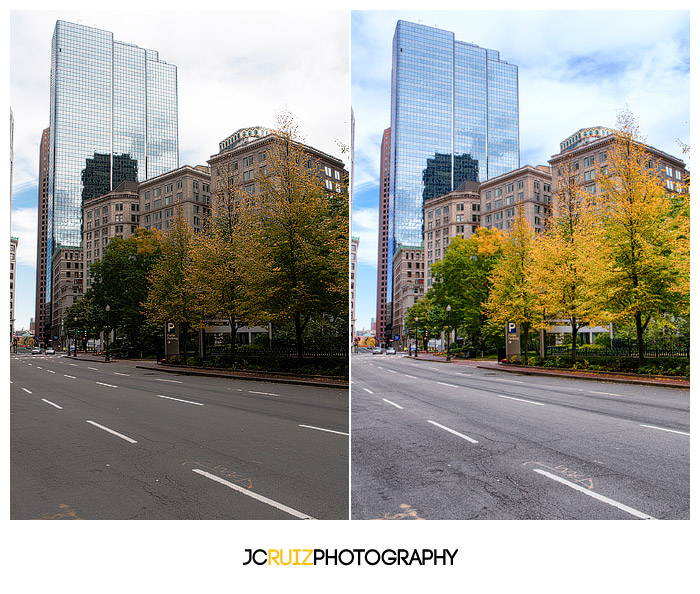
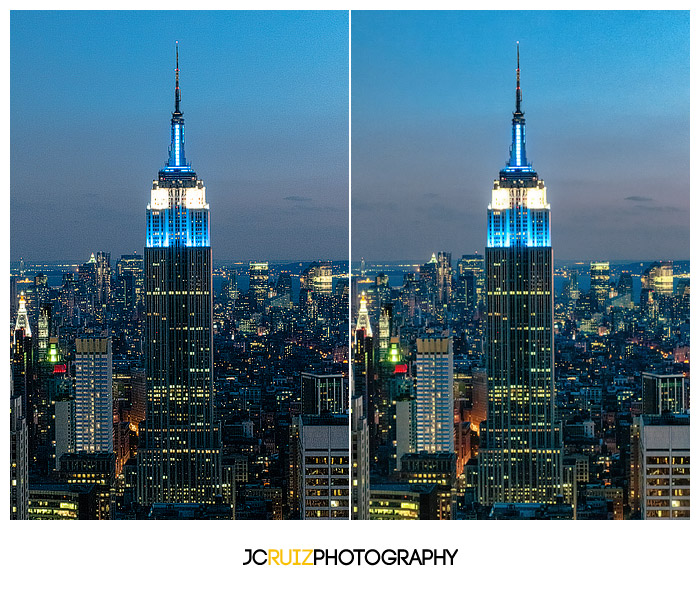
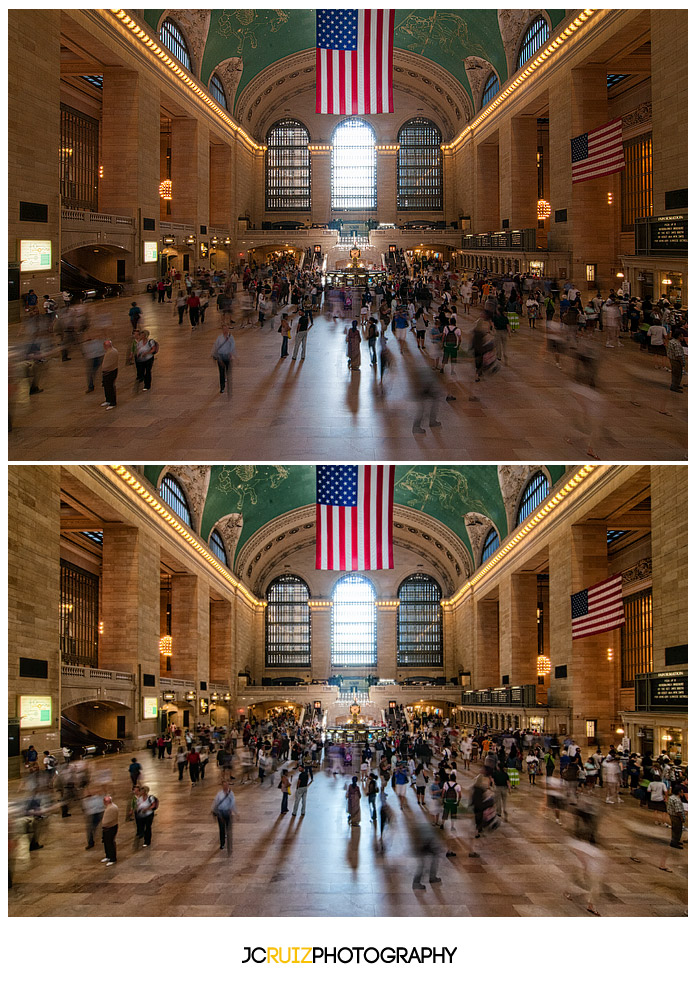
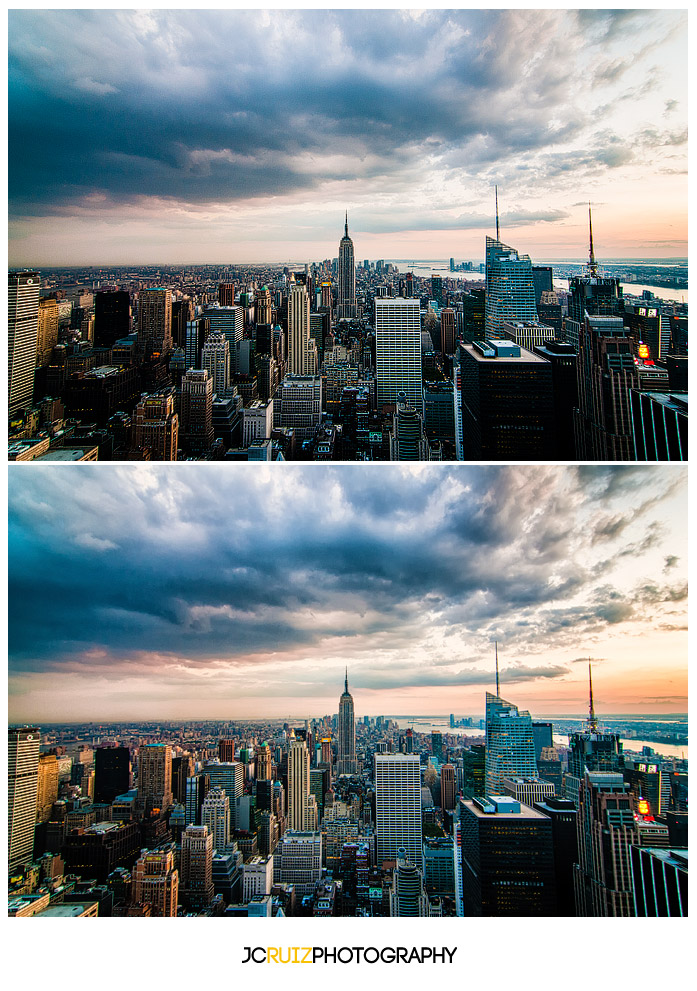
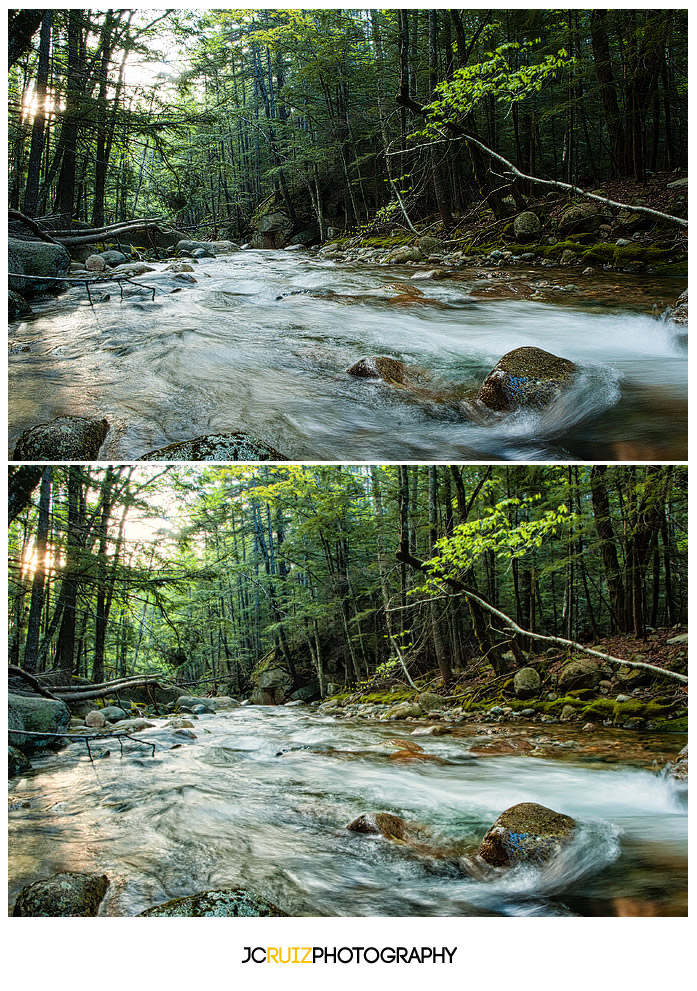
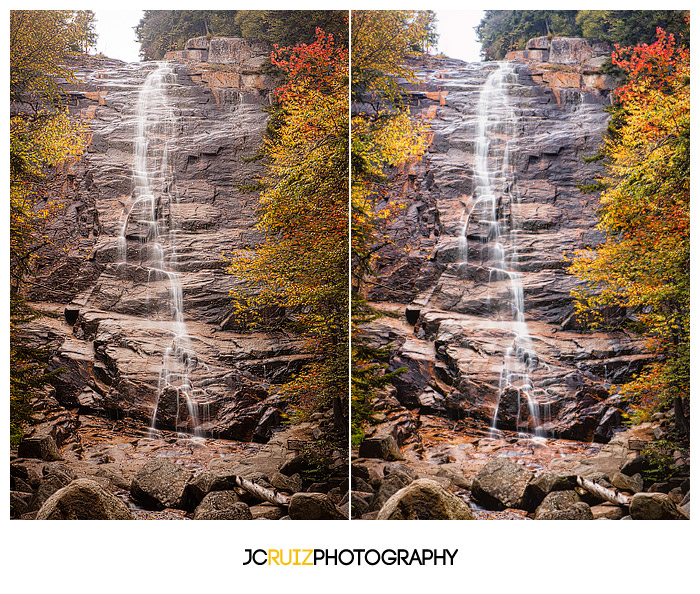
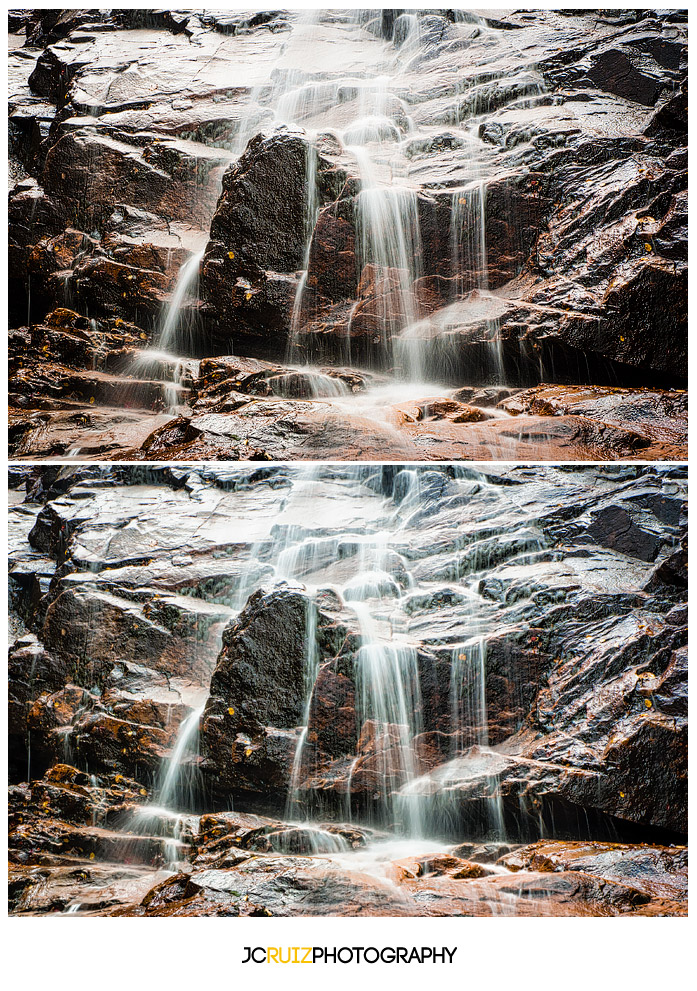
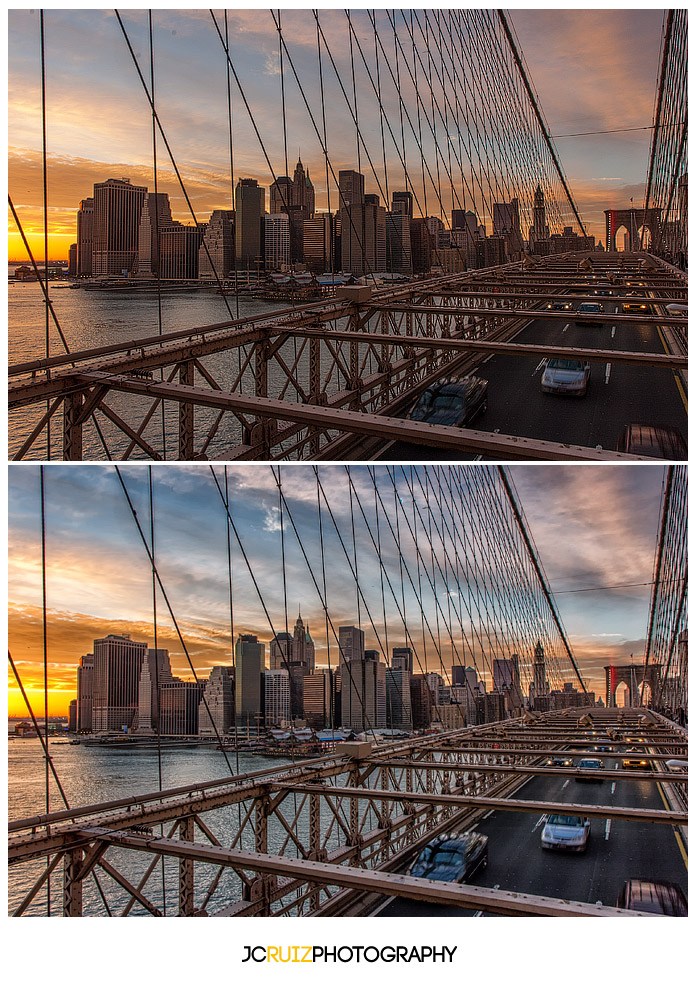
The difference in the photos is like night and day for me. Sure Lightroom is amazing editing my photos but when I incorporate and use Nik Software, it just takes my photos to another level and that is where I’m trying to go; to another level.